The first question: does the cabinet take modern hardware
Open a door and look at the inside face of the carcass side. Vertical lines of holes on a regular spacing mean modern hinge plates and runner brackets fit directly, and the whole upgrade becomes straightforward.
That pattern is the European 32-millimetre system spacing, and cabinets built to it are designed to be re-fitted. Hinge plates, runner brackets and shelf supports all land on the grid, so a hinge made twenty years after the cabinet still bolts to the same holes.
Where there is no pattern, the upgrade gets harder in a specific way. New holes have to be bored accurately into the carcass side, and that depends on the panel being thick enough and sound enough to hold a fixing. In a thin particleboard side, or a side that has already been drilled and re-drilled, the honest answer is sometimes that the cabinet will not reliably carry a loaded drawer. Saying so is more useful than fitting hardware that pulls out in two years.
- A system hole pattern in the carcass sides, which makes hinge and runner fitting direct
- Carcass side thickness and soundness, because runners transfer load into that panel
- Whether the back is a full panel or a thin insert, which affects how the cabinet resists racking under drawer load
- The clear opening width, measured rather than taken from the cabinet width, because a face frame narrows it
- The condition of the sink base, which is the cabinet most likely to have failed already
- Whether the doors are already on concealed cup hinges, which makes a soft-close swap trivial
Converting doors to drawers, which is the big one
Converting a base cabinet from a door with a fixed shelf to two or three drawers is the single largest usability gain available in an existing kitchen.
The reason is geometry rather than preference. A door with a shelf behind it requires reaching into the cabinet and past whatever is at the front to get at what is at the back. A drawer brings the back of the cabinet out to the front of the room. Nothing else you can do to a kitchen changes the daily experience as much for as little.
The published reach figures make the case formally. The unobstructed forward reach range is 15 to 48 inches above the floor; where a reach passes over an obstruction up to 20 inches deep the maximum stays at 48 inches, and over an obstruction between 20 and 25 inches deep it drops to 44 inches. A base cabinet shelf is, in effect, a reach over a 24-inch obstruction at low level, which is the hardest kind of reach there is. A drawer removes the obstruction entirely.
| Upgrade | What it buys | What it depends on |
|---|---|---|
| Door and shelf converted to drawers | The back of the cabinet becomes reachable; nothing is lost behind anything else | Square, sound carcass sides that will carry runners, and a clear opening wide enough to be useful |
| Three-quarter runners replaced with full-extension | The last quarter of every existing drawer becomes usable | Carcass depth and the existing drawer box being sound enough to re-mount |
| Soft-close hinges or clip-on dampers | No slamming, so hinges stay tight and finish does not crack at the stile over years | Existing concealed cup hinges, or a door that can be bored and a carcass that can be plated |
| Soft-close drawer runners | The drawer front stops closing against the carcass, which is where front damage starts | Runner type compatibility and enough depth behind the drawer box for the mechanism |
| Corner mechanism in a blind corner | Dead volume becomes live; usually the largest single storage gain in a kitchen | The clear opening, because the mechanism has to pass through the cabinet front |
| Pull-out waste or recycling | The bin leaves the floor and the cabinet door stops being a swing hazard | Carcass width and whether the cabinet currently holds plumbing |
| Interior drawer dividers and knife blocks | Organisation inside existing drawers, cheap and quick | Nothing structural; this is the easiest item on the list |
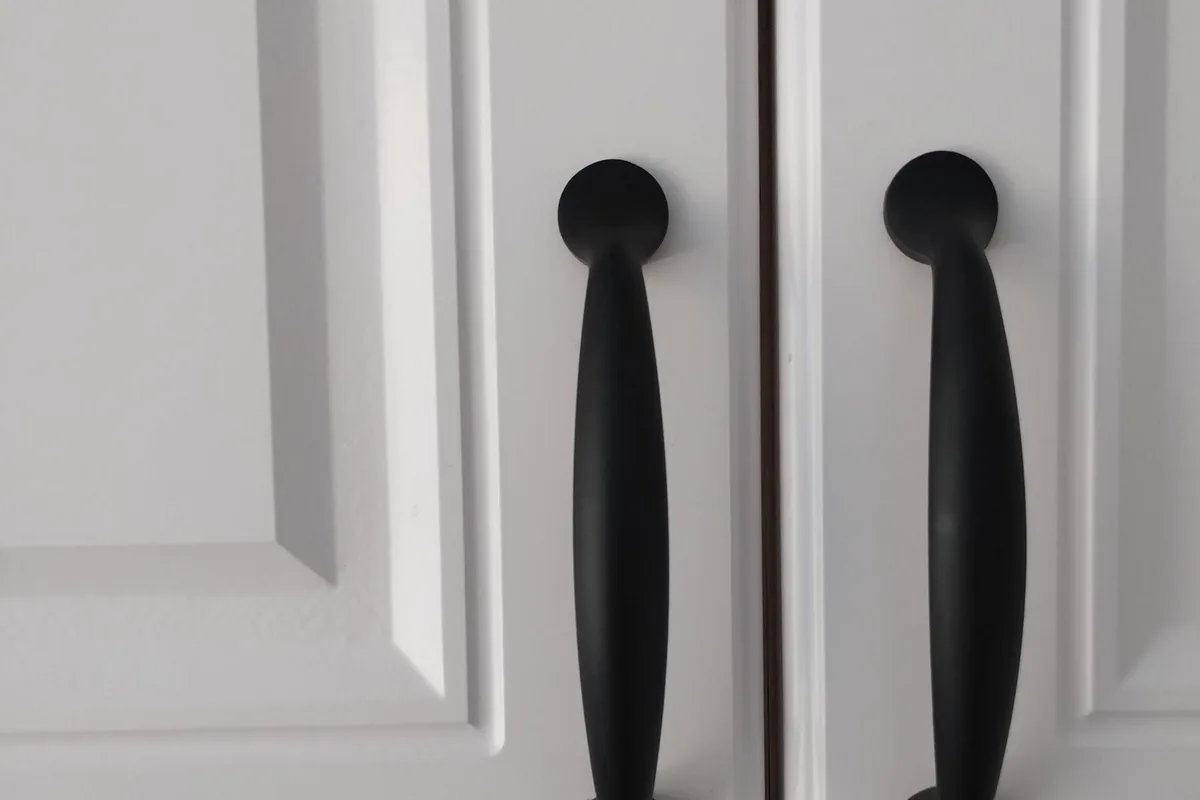
What soft-close actually buys
Soft-close is usually sold on noise and is actually worth buying for wear, finish protection and reveal consistency.
How an upgrade should be priced
An upgrade is priced per item rather than per linear foot, because no carcasses are being built and linear footage has stopped being the right unit.
This is worth insisting on. The published custom cabinetry band of $500 to $1,500 per linear foot installed describes building and fitting new casework, which is not what is happening here. An upgrade quote should instead contain counts:
- The number of doors receiving soft-close hinges, with the hinge count per door stated
- The number of existing drawers being re-runnered, and to what extension and load rating
- The number of base cabinets being converted from doors to drawers, with the drawer count in each
- The number of corner mechanisms, named by type, with the clear opening each one has been measured against
- Any new fronts required, counted and sized, where the existing door cannot be reused
- Any carcass repair required first, itemised separately, because that is joinery rather than hardware
A quote in that form can be compared with another quote in that form. A single number for "upgrade kitchen hardware" cannot be compared with anything, which is the same argument made about new cabinetry on the choosing a cabinet maker guide.
Hardware upgrades in a coastal house
In a waterfront Newport Beach house the corrosion rating of the new hardware matters as much as its load rating, and on an inland street it does not.
The city is 55.04 percent water by area, with a semi-artificial harbour, eight artificial islands and roughly 9,000 boats. For a bay-front or ocean-front position, the published benchmark worth asking a supplier to meet is 288 hours at 100 percent relative humidity and 37 to 39 degrees Celsius on a panel scratched to bare metal, with no blisters and no more than 0.0625 inch of rust creep.
That specification costs money, and it is the right money on Balboa Island, on the Peninsula, on the waterfront lots of Lido Isle and in West Newport. In Santa Ana Heights, Big Canyon or a conditioned Newport Center condominium it buys nothing. An upgrade quote should say which assumption it has made, because the same job in two neighbourhoods is legitimately two different prices. The detail is on the salt air guide.
The lead question, which applies here too
A hardware upgrade in a pre-1978 house can cross the federal lead-rule threshold, usually through boring or sanding rather than through swapping a hinge.
The rule at 40 CFR 745.83 applies to housing built before 1978 and names built-in cabinets, vanities and counter tops among the components it covers, with a trigger of more than 6 square feet of painted interior surface disturbed per room. Across the city, 61.0 percent of homes were built in 1979 or earlier, and the largest single decade is 1970 to 1979 at 22.3 percent of units.
Swapping a hinge into existing holes disturbs almost nothing. Boring new hinge and runner holes throughout a painted kitchen, or sanding a painted face frame to fit a new front, is a different matter and can reach the threshold. The action levels are 1.0 milligram per square centimetre or 0.5 percent by weight, and uncontained power sanding of painted surfaces is prohibited outright. The practical advice is simply to ask the question before the work starts, which is set out on the lead paint and RRP guide.
Do the hardware with the refacing, not after it
If refacing is on the table, the hardware upgrade belongs in the same job, because the hinges and runners are off anyway.
Refacing replaces the doors and drawer fronts and skins the visible carcass faces. At that point every door is off its hinges and every drawer front is off its box, which is exactly the labour an upgrade would otherwise have to pay for a second time. Doing both at once can halve the labour on the hardware half of the work.
The reverse order is the expensive mistake: new doors fitted to worn hinges and short runners, then a second visit a year later to do the hardware, paying twice for the same removals. The full comparison of refacing, refinishing and replacing is on the refacing, refinishing or replacing guide, and the refacing work itself is on the cabinet refacing page.
Next steps
For the hardware itself, including what each published test measures, see cabinet hardware. For repairs that have to happen before an upgrade, see cabinet repair, and for new cabinetry if the boxes turn out not to be worth keeping, custom cabinets. A quote starts at the contact page.